How to get started on your gardening blog
So you are a keen gardener, wanting to start a blog. Well you’re in luck because getting started on a gardening blog should come natural to you. You see the elements of starting a blog are very much like the elements of landscaping a new garden. Here, let me explain…
First you Start with Planning
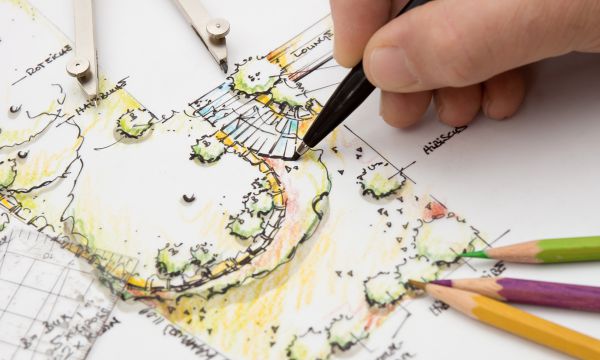 Just like with a garden, a blog should be planned out first to ensure you know what you style or design you are looking for. When you’ve finished reading this, go and have a look around the Internet at different garden blogs to see what you like. I have also curated a list of popular garden blogs and how they are making money.
It is in the planning stage that you’ll need to choose a gardening blog name such as the lazi-gardener.com , greenthumb.com or any other memorable domain name you can come up with. At this stage keep the name as short and memorable as you can. Try and limit the length to 10 characters or less because it lessen the chances of someone getting it wrong. Here is some more information about choosing a blogging name.
Now you need to work out where the garden is going to be. In blogging you essentially have two choices, one is free hosting and the other is more prestigious and is called self-hosting. Think of this like your Front Garden (self-hosting) and your Back Garden (free hosting).
A Front Garden is usually designed for better presentation to the street, it’s the place where passers by will admire your garden and hopefully comment if you’ve done a good job. It’s the place we put our street number, because this is how they’ll find us.
Similarly, a self-hosted blog is one that where you have your own domain name (street number) and it carries more weight in the Internet World. Plus, just a like a front garden, a self-hosted domain will make you more money than a free hosting option. But, hey money might not be your motivation.
An example domain name when you choose self-hosting would look like: greenthumb.com
A Back Garden is usually more relaxed, only your friends tend to see it and generally the people on the street don’t even know it exists. When you use free hosting some of your blog prestige is lost on the company that hosts your blog, such as wordpress or blogger.
An example domain name on a free blog site will look like: greenthumb.wordpress.com
In Summary: The Planning Stage is best used for working out the style or design of the blog, the gardening blog name and whether you want a Front Garden self-hosted blog or Backyard free blog.
Ground Preparation
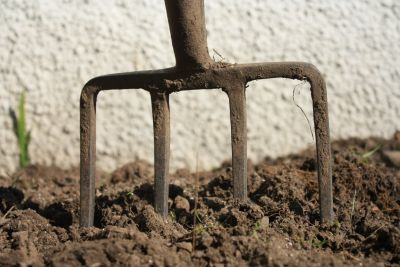 Now comes the fun part, this is where you get to build something. Well not actually build something, but rather start to prepare the foundations of your blog. In gardening you call that earthworks, and in the blogging world we call it installing blogging software. There is really only one software product I recommend and use for blogging and it’s called WordPress. It the most widely used blogging software available and provides the most features for your blog.
Now hopefully, during the Planning Stage you realised the potential of being self-hosted and for a few dollars a month, you too can have your own Domain Name on the Internet. If you’ve wisely chosen to go down this path, you’re in luck as I’ve created a comprehensive guide to getting started with the self-hosting company I’ve been using for over 10 years, called Bluehost.
It’s a simple step-by-step guide to setting up a full featured version of WordPress, so relax I’ve made it super easy for you.
NB: As an added bonus Bluehost is currently giving away a Free Domain Name with your new hosting account.
 16 EASY STEPS TO START A BLOG QUICKLY WITH BLUEHOST
However, if you are looking for the Backyard version for your gardening blog, that’s ok too, unfortunately I just don’t have a guide for you as yet, but I’ve been told it’s not too hard to get started.
Here is the link to the free blogging software I mentioned earlier, it’s also WordPress but they limit the features because it’s free.
In Summary: The Ground Preparation Stage is where we set-up your blogging software, and now you are almost ready to start blogging, but just like a garden, you might like to add in some infrastructure to add depth to the garden. Lets have a look at adding Blog Infrastructure, now.
Building the infrastructure
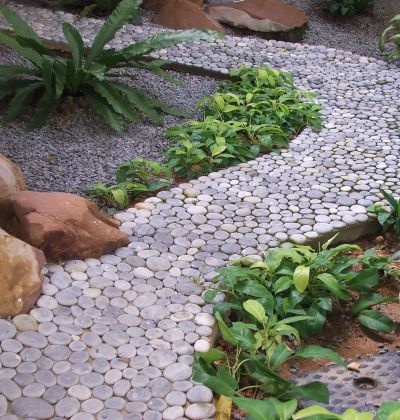 After you’ve installed the software, you could theoretically start blogging but the default template doesn’t look that pretty and any new garden design should be pleasant on the eye.
In the blogging world we use templates or themes to make our blog look pleasing to the eye.
There are hundreds of free templates to choose from but as always you get what you pay for. As choosing between a free template or paying for a premium one is a frequently asked question, I’ve created a post explaining the benefits of both.
Choosing a Free vs Premium WordPress Template
Needless to say, I prefer to purchase a premium template because I’m no cheap gardener and prefer pain-free solutions where possible. Plus, I usually spend too much time looking for all the flexibility and features a premium template gives me.
Now, some other Infrastructure you might need for your gardening blog are called plugins, but these are not needed when you are first starting out. So lets keep this simple, shall we.
The only plugin you need to get started is one called Jetpack, which has a few different plugins within the software package.
In Summary: The Building Infrastructure Stage is where you install a Theme or Template and the required WordPress plugins to suit your needs.
Planting Out
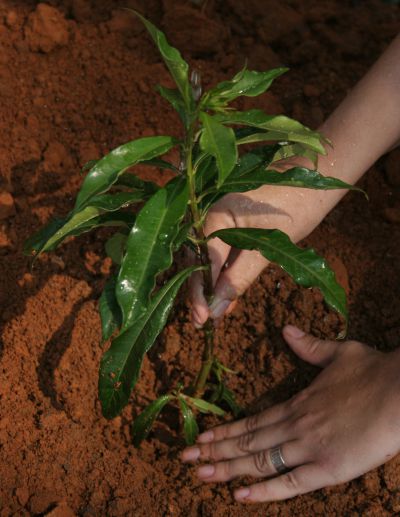 In gardening you know of a term called ‘planting out’ where you start digging holes and putting in the different plants you choose during the planning stage. In blogging we use the term ‘pages’ and ‘posts’ as our blogsite plantings.
Firstly, you should work on creating the blog pages which are static documents that don’t usually change over time. Some common pages you’ll create are your ‘Start-Here’, ‘About Us’ and ‘Contact Us’ pages. Here is a brief description on what these pages are:-
Start-Here – This is the page where you want your readers to go so they can get further instructions on what your site is about, and where they go to next, as this isn’t always obvious on your frontpage.
About Us – This is where you give a little ‘bio’ about yourself, so the readers can get to know you a little more.
Contact Us – If you want to give people a contact email address or access to your social media pages, it’s best done on the ‘Contact Us’ page
Next, it’s time to create you first blog post. And this is usually where most people get stuck, because they didn’t do enough planning. But I’d like to assure you that whatever you have to say will resonate with a group of people and these will eventually become your tribe. I’ve created a guide on writing your first blog post.
Writing your First Blog Post
You just need to remember, you have full control of what you post on your blog, so if you don’t like something that you’ve written, you can always delete it a later date. Don’t be afraid to click that Publish Button.
In Summary: The Planting Out Stage is all about populating your blog with your words and ideas, through the use of Blog Pages and Blog Posts. It’s like planting the seeds in your garden. So now it’s time to grow them.
Growing Your Garden
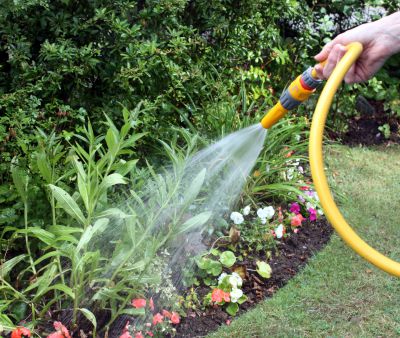 Just like trying to work out when a garden needs watering, you also need to work out the frequency that you’ll need to water your Blog. Blog posting frequency is a very common question for new blog owners and the best advice is to work out how much time to want to spend on your blog.
To work out your frequency, first start with the hours you want to spend blogging and then halve it, with the first half dedicated to the writing and the second half to the editing and admin for your blog site.
For example:- I can spend just 4 hours a week on my blog, therefore I spend 2 hours writing blog posts and 2 hours for editing and site admin. Now if I’m good at typing, I might get 1 blog post done per hour, so my posting frequency will be two a week. Otherwise, I just use the full 2 hours to create one great post.
You might like to start blogging just once or twice a week, until you get the hang of it, but I recommend choosing the day(s) of the week you’ll post on and stick to it, because your readers will appreciate knowing which day to visit your blog for updates.
After you’ve posted a few times and start to get the hang of it, it’ll almost become second nature to you, just like gardening. But if your Idea Well starts to dry up, it’s ok because I’ve got your back. Here is a definitive guide to Blog Post Ideas;-
81 Blog Post Ideas to Get you Moving Again
In Summary: The Growing Your Garden Stage is about finding the writing speed that is just right for you and learning to nurture your garden in these early stages.
However, don’t be surprised if it’s just you and the crickets…
Time for Your Gardening Blog Show
 After your blog is established and you are happy with the routine of managing your own blog, it’s time to tell the world you exist.
Search engines will naturally find you and start crawling your blog as soon as they find a single link to your site. But, a better way is to let Goolge know directly that you exist by signing up to their free Webmaster tools. During the setup process you will be asked to submit your website URL (Domain Name), and then Google will start crawling your site looking for content to put in their search engine.
If this sounds too complicated, then just sign up and Google will take care of the rest.
Another great way to show off you work is to, share your website URL on social media. All social media sites like Facebook, Twitter and Instagram have a specific place for your website URL, so don’t forget to look for it. And share your blog posts to your friends.
At this stage you might also like to get a newsletter plugin for your site and start collecting email subscriptions, so that you can send emails to your readers whenever you post to the blog. If you installed the WordPress Jetpack plugin I mentioned earlier, it has a email subscription plugin available for you to use.
 As a bonus, if you chose to sign-up with Bluehost, you are also given some Free Search Engine dollars to spend on advertising, which will help to drive traffic to your new Gardening Blog, but I’d recommend holding onto these vouchers until you have a few months content already posted on your website. Have a look for these Icons in your BlueHost Control Panel, when you are ready to start advertising.
In Summary: Your Gardening Blog Show is about telling the world you exist, and to show that you take pride in your work and your blog. Who knows, maybe one day you’ll be ‘Best in Show’.
So that should be enough to get your Gardening Blog started. But as always, I’m around to help you with your questions if you get bogged down in the mud. You can contact me on email hammo[at]startablog.info, on twitter @diyblogguy or you can find me on facebook (see the social links at the top right of the page).
Also, I do put alot of work into these posts, so I would appreciate you sharing this content if you found it useful. Thanks heaps.
Share the post "How to get started on your gardening blog"

